PicsArt Dripping Effect | PicsArt Editing Tutorial

Tutorial
In this tutorial, I will show you the steps I took to create PicsArt Dripping Effect Photo Editing.
This is an intermediate tutorial so some steps can be tricky - if you are having difficulty with it, I suggest you go to the basic section of PicsArt, practice those tutorials first, or watch my previous video of PicsArt, practice those tutorials first, then come back and do this one.
Details of Tutorials
- Application: PicsArt
- Completion of Time: 5 Minutes
- Difficulty: Medium
- Man Image
- Dripping Object
- Circle Object
- Stars
There are some steps we have to follow.
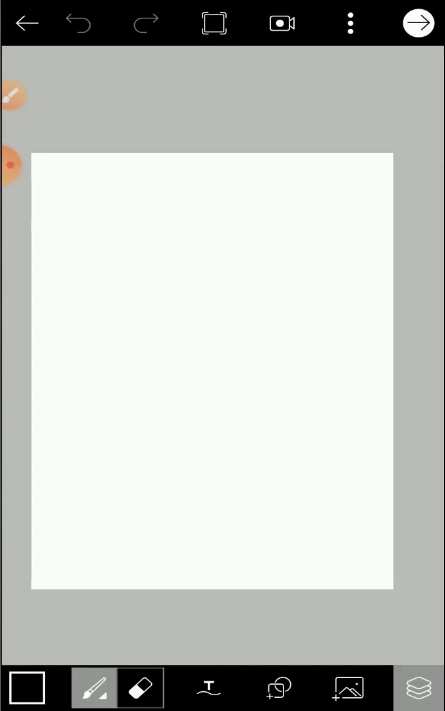
STEP 1:
Open PicsArt.
STEP 2:
Import one Image in Draw. Click on the Add option and select Photos, take a cutout option to select the outlines of image, if some portion of the area is not selected then click brush option to select that particular part of that image, Remove the unwanted area from the images by using Eraser.


STEP 3:
Draw the image, for that click on three dots then click on new, and set the resolution of that page as 1200x1600.
STEP 4:
Take an Empty layer, upload the background layer object, and click on 3.4 to crop this object, and set that on the white layer.

STEP 5:
Take an Empty Layer and upload the subject, and set it on that center of the background object layer.

STEP 6:
Take an Empty Layer and upload the Dripping object, click on NOR option, in that click on add option, and click on XOR option set on the bottom of that subject, and off the white background, by clicking Eraser option you can remove a portion of that are not necessary for us.


STEP 7:
Take an Empty Layer and upload the circle object, and place it onto the backside of that subject.

STEP 8:
Take an Empty Layer and upload the stars at the backside of the subject, then click on NOR option, in that click on add option, and set that on-page, click on NOR option, in that click on Lighten option, by clicking Eraser option, you can remove the unwanted area of that background.


STEP 9:
Take an Empty Layer and upload the color background object, then set the opacity of that object, click on NOR option, in that click on-screen option for adjusting the color this particular layer, and set that layer on the backside of that page.
Finally, click on save button to finalize that image.
For a glance you can watch this video :
https://www.youtube.com/watch?v=5gbx6GwF3LI&t=2s
For Downloading PDF File Click Here Below Button 👇

For Downloading Images Click Here Below Button 👇
2. Image2
3. Image3
4. Image4
If You Like PicsArt Dripping Effect Photo Editing, Then Give Thumbs up! Hopefully, You love this article, and We believe you have successfully editing your image. Thanks for being with us. If an Query, Share with us your valuable opinion and feedback in the comment section down below.
Post a Comment